Tree-house!
The summer holidays can be long, and hard. For some, that may sound surprising - but for others, it's a familiar tale. It's 6, maybe 7 weeks of having the children at home, when you are having to juggle work, childcare, and everything in between. We did manage a few lovely days up in Yorkshire with Naomi's parents, but otherwise - from mid July to early September, we were at home. But yes, in the beautiful South Hams.
Every month I set some goals for the renovation, and at this point the renovation tasks are minimal. It's no longer "build the internal walls" or "install a staircase" but "finish the painting in the hallway" and "install the skirting board". So for the summer holiday, I thought I would set a slightly different task: build a tree-house.
When I was young, before my parents separated (so, under 8 years old), my Dad always talked about building a tree-house in the garden. It's not something he ever managed to do, but it has always been a sort of promise - forever unfulfilled. Well, for a while now it's been my turn to be a Dad, and we are lucky to enough enough to have a big garden with some big trees. Last year, a Bay Tree fell down in a storm. I cut up the trunk in to a couple of sections, putting it to one side, thinking that one day I might be able to make use of it. Fast-forward to the summer holidays and it was time to make use of that tree trunk, and of all the other building materials which I'd been gathering since the Renovation.
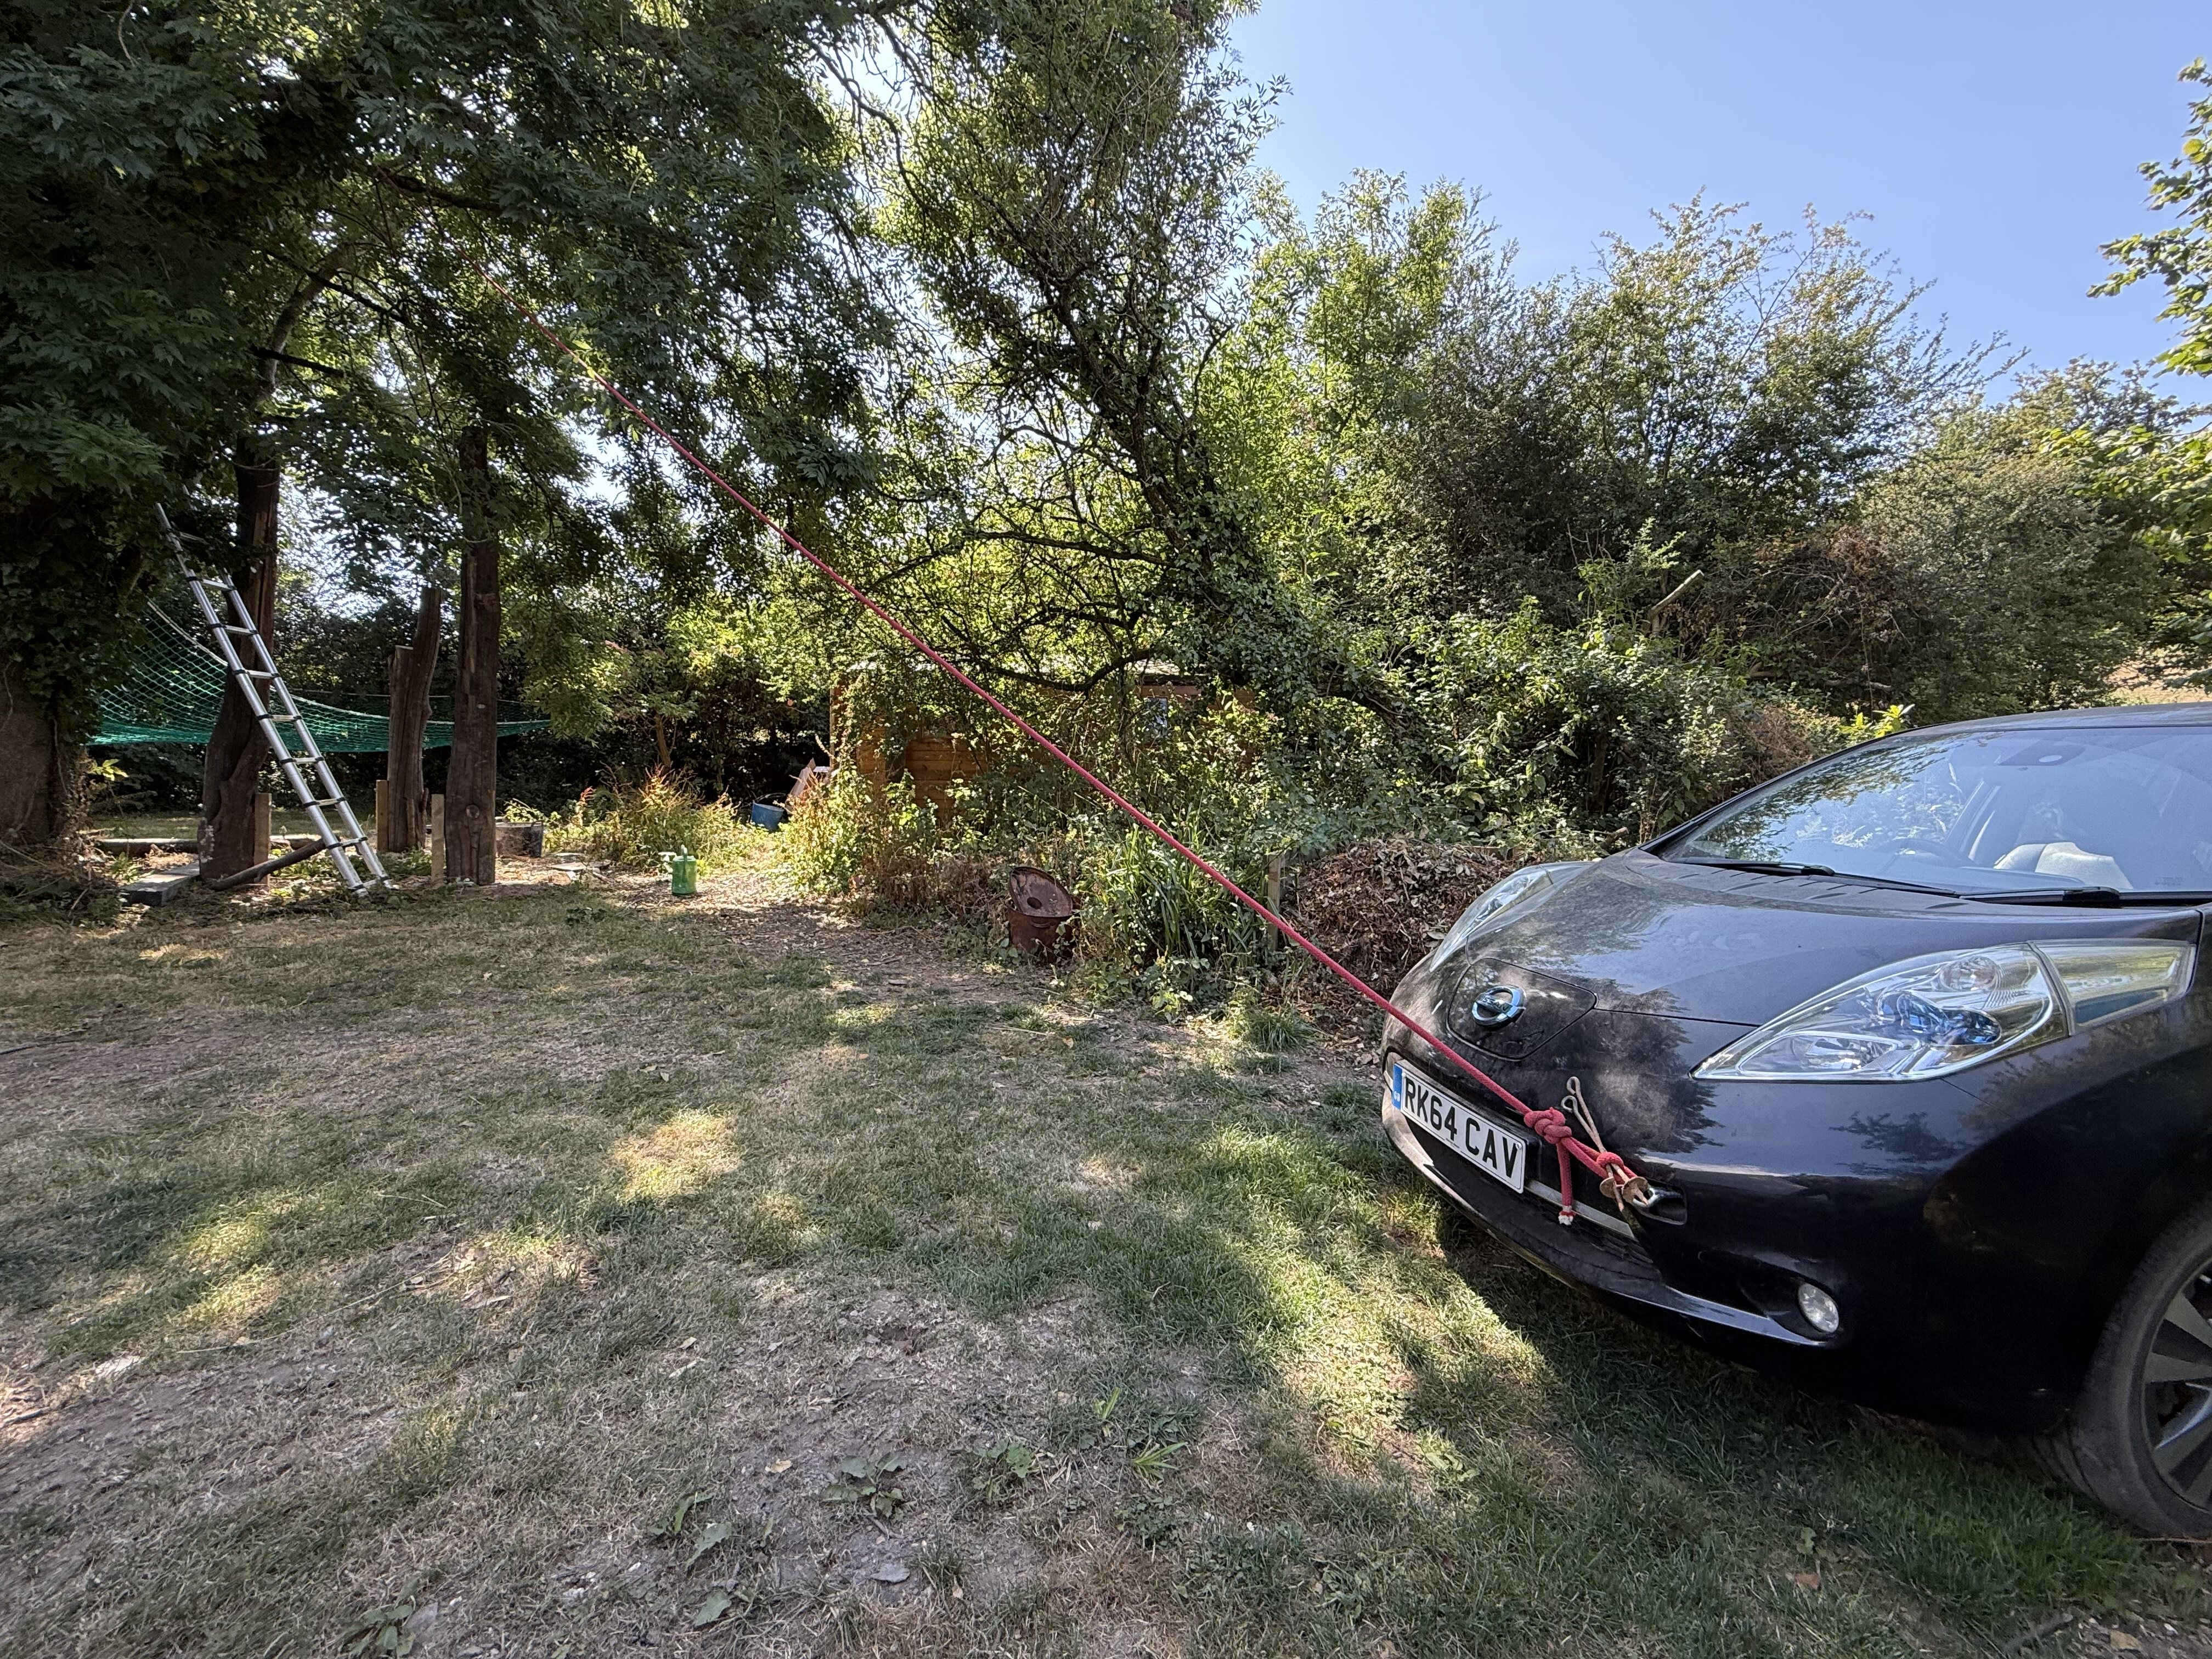
One of the first problems was to get the tree trunks upright. With a tow-rope over a branch, high up, it turns out a 2014 Nissan Leaf is pretty nifty with its tow hook for this purpose.
I worked on the tree-house every weekend throughout the summer holidays, starting first with the upright stilts for it to sit on. These trunk sections were bolted on to fenceposts cemented in to the ground. They're very sturdy, and certainly strong enough to hold up the joists which are bolted on to the trunks and which form the floor of the tree-house. This method was important to me because it avoided any contact with the very large ash tree which it sits next to. Often, tree-houses are mounted on or in to trees, but this cannot always be healthy for the trees in question, and I liked the idea of "leaving the tree be", so I opted for a construction that didn't rely on the tree at all. There are plenty of braces to prevent lateral sway. The trunks support timbers at a lower level which form a balcony, stepping up to a platform which supports 4 studded walls with a sloped roof. I enjoyed recycling lots of leftover renovation materials, including box-profile sheets from the old garage roof, the original joists in the house, feather-edge cladding from two sheds I've taken down, wood-fibre insulation, even aluminium cans for flashing - all sorts of upcycled bits and bots. It's finished off nicely with the one window I kept from the house, plus some curtains that Naomi made and a BioLite unit, which adds a solar-powered battery, lighting, a security light (!), FM radio and USB-charging. The kids are very excited with it, and slowly making it their own. Yes, children - you can draw on the walls!
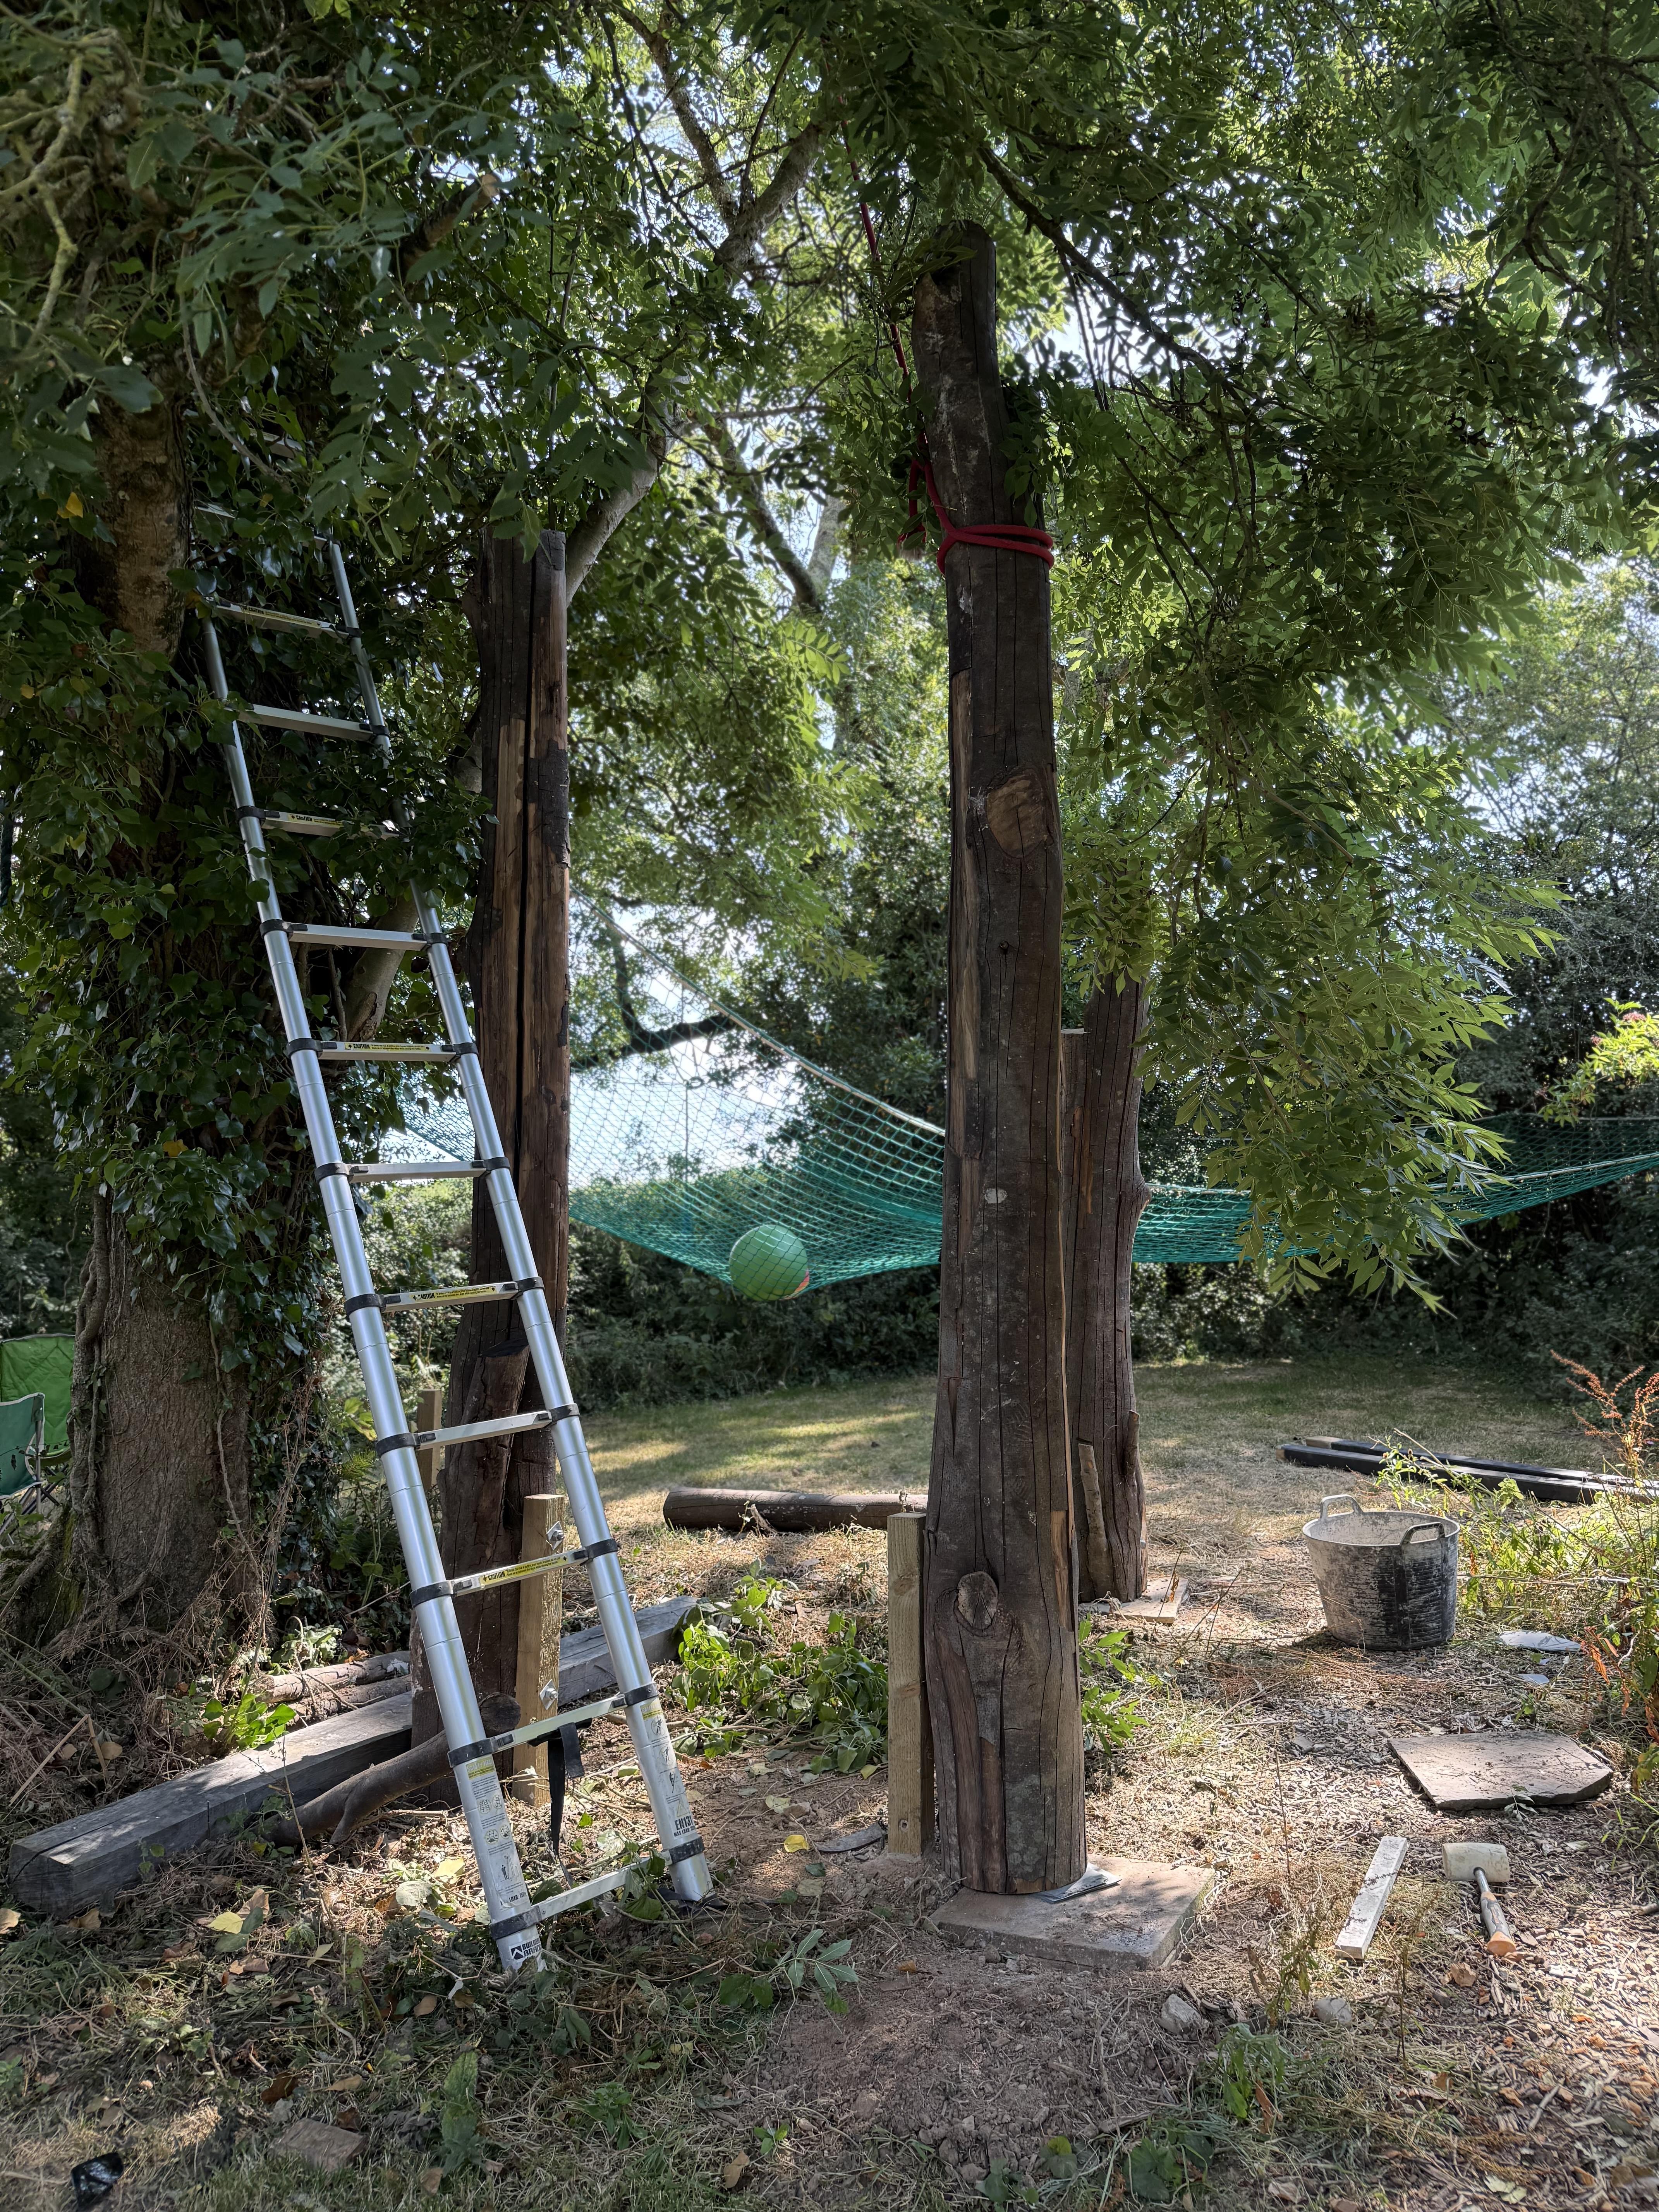
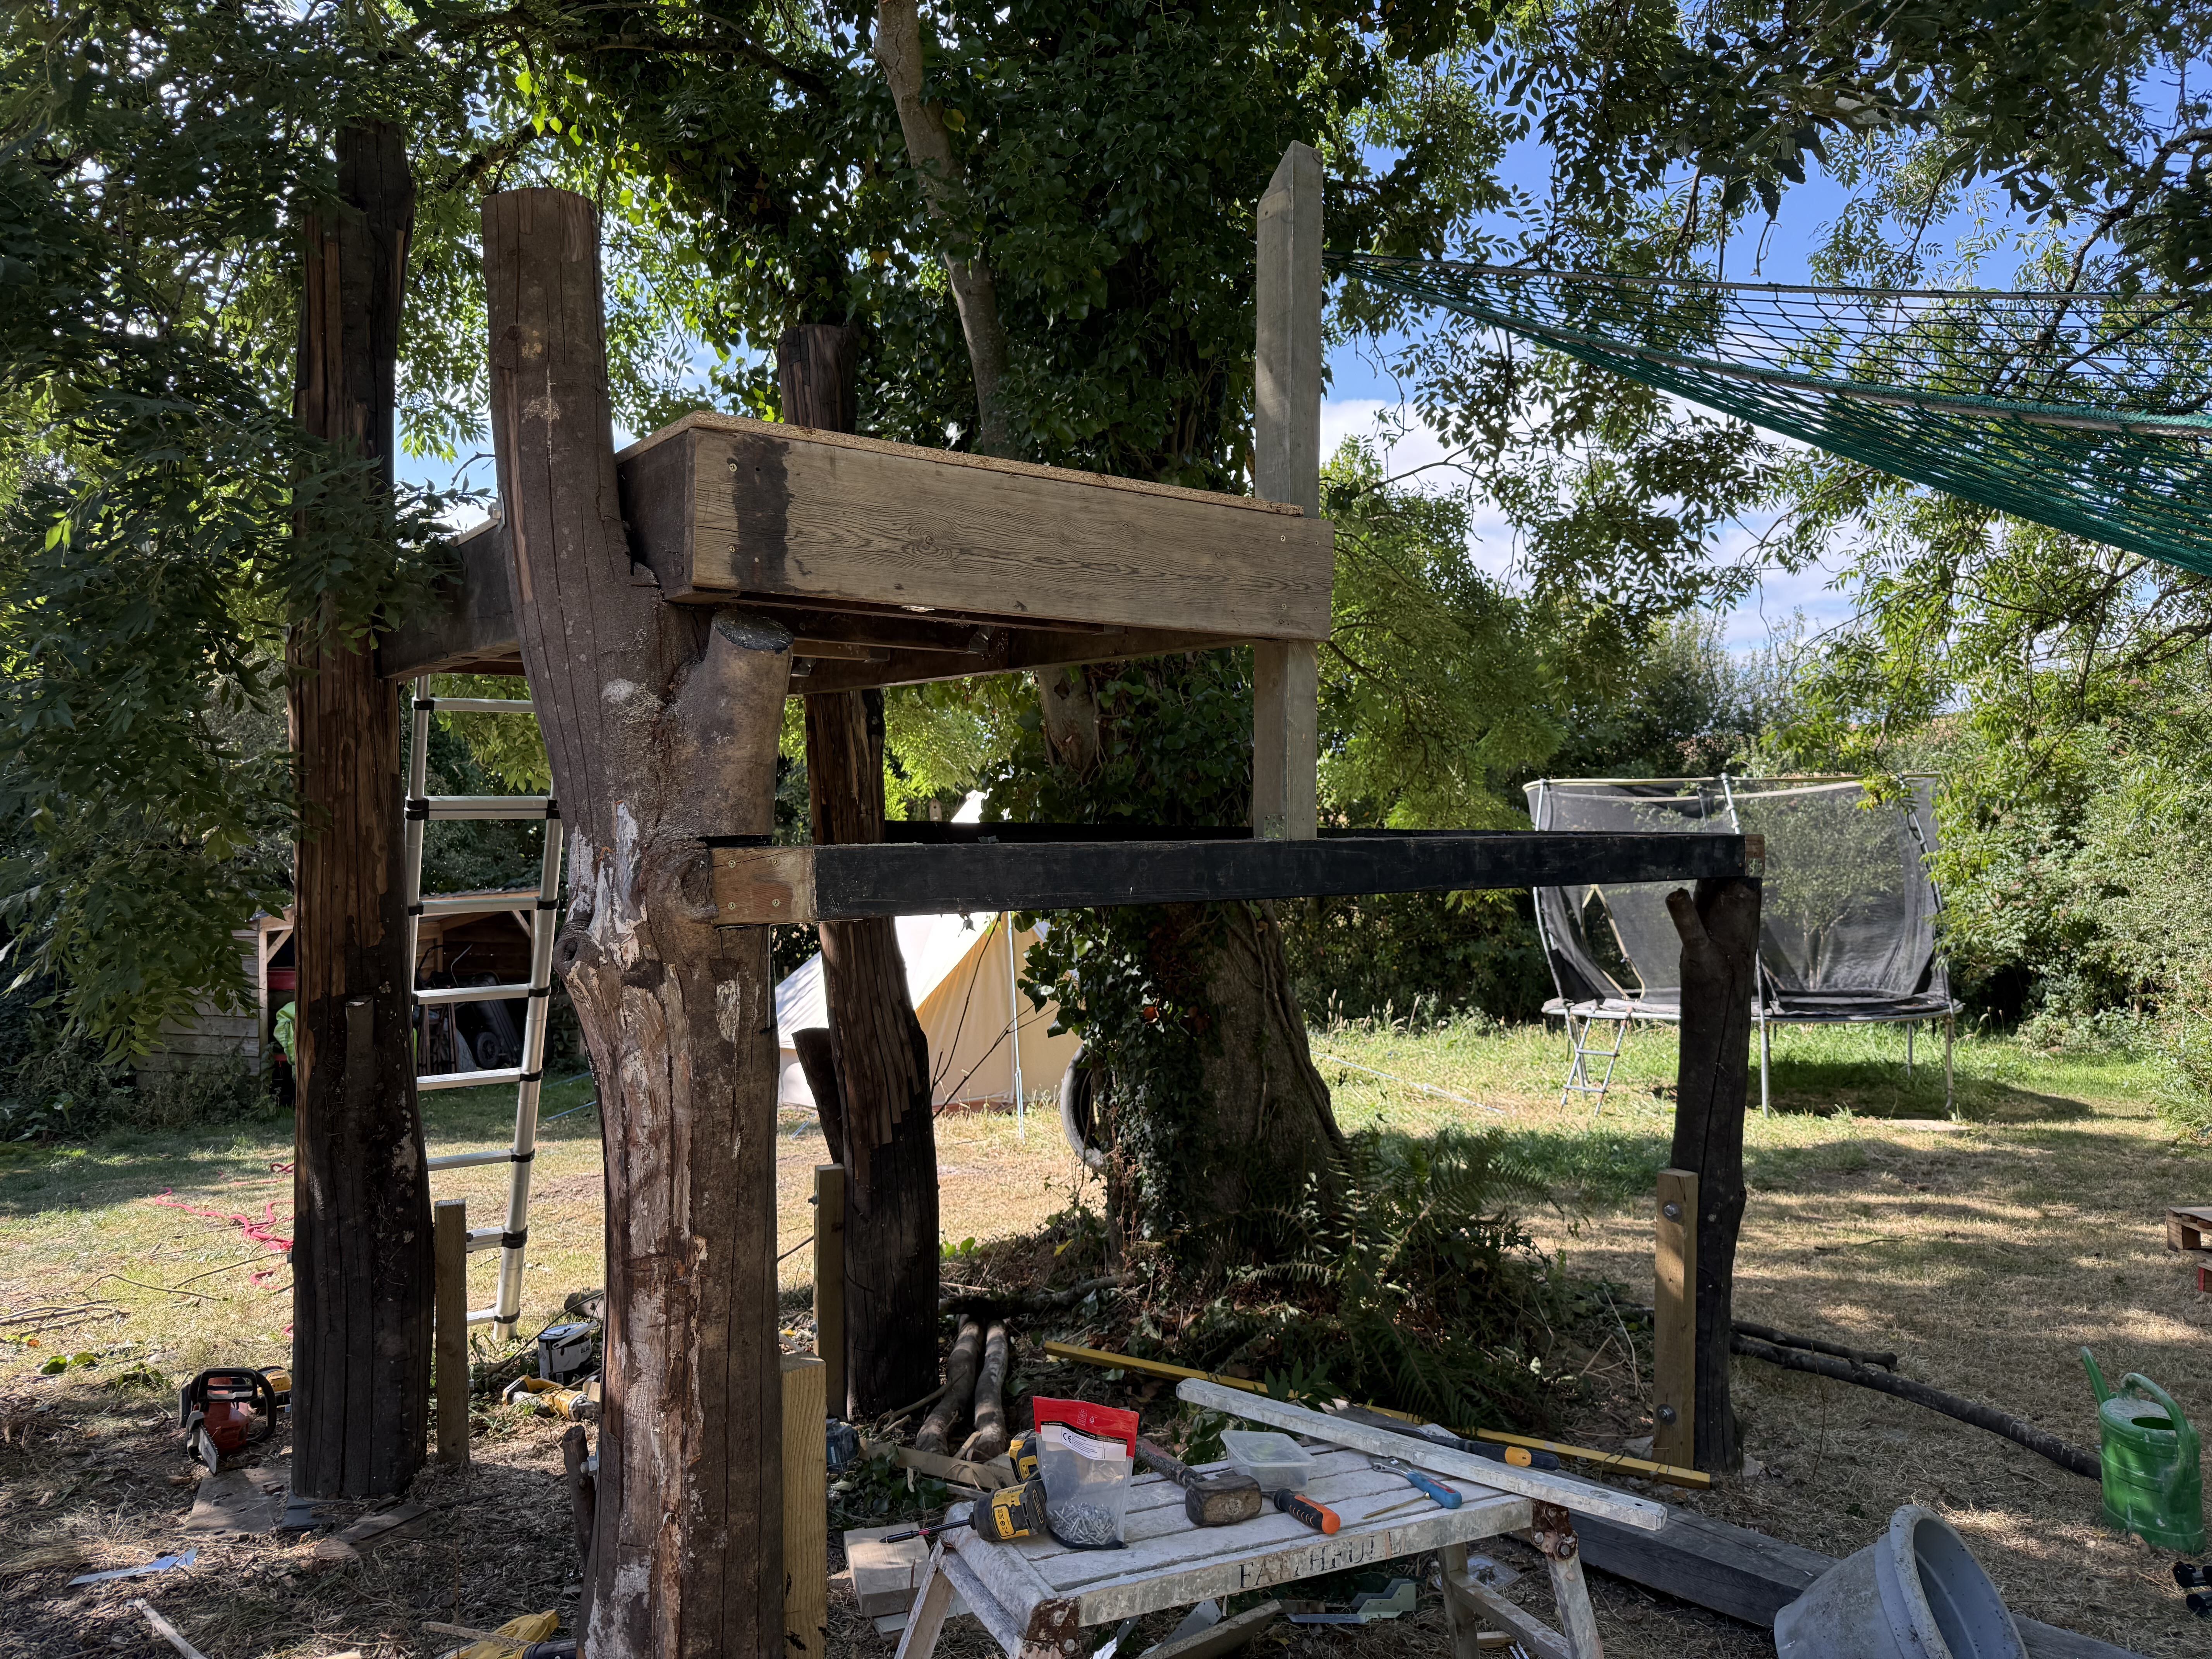
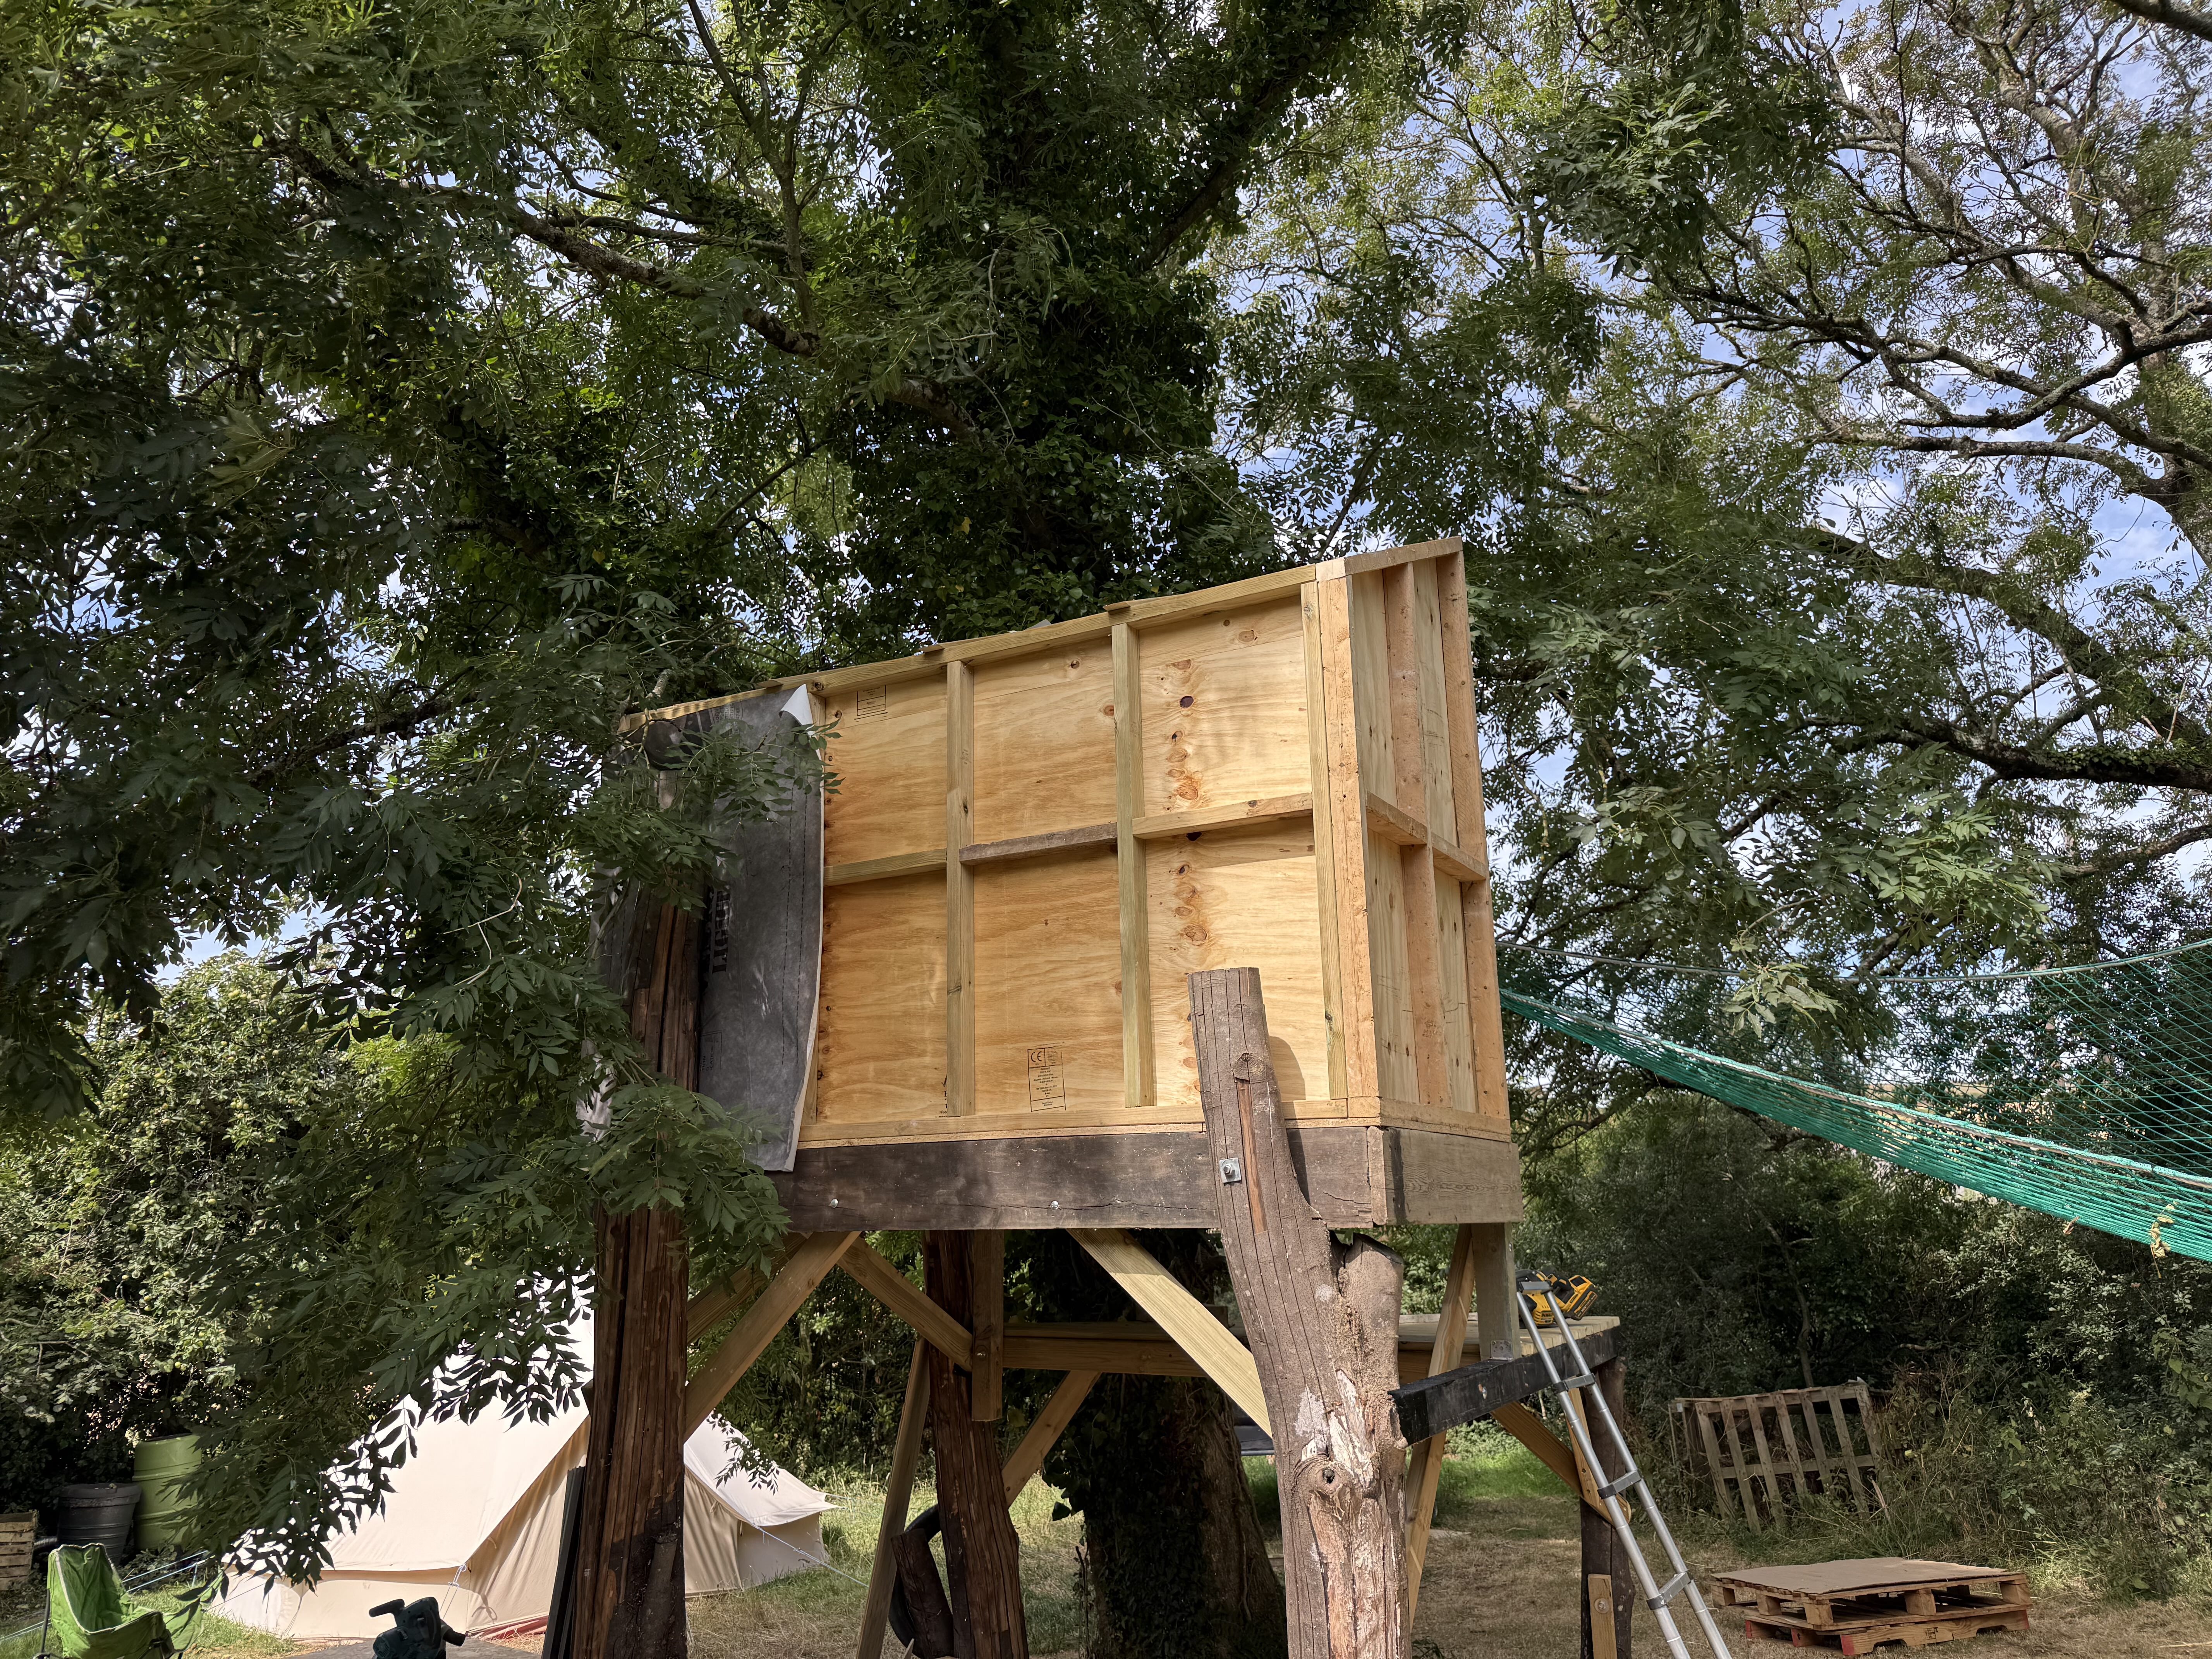
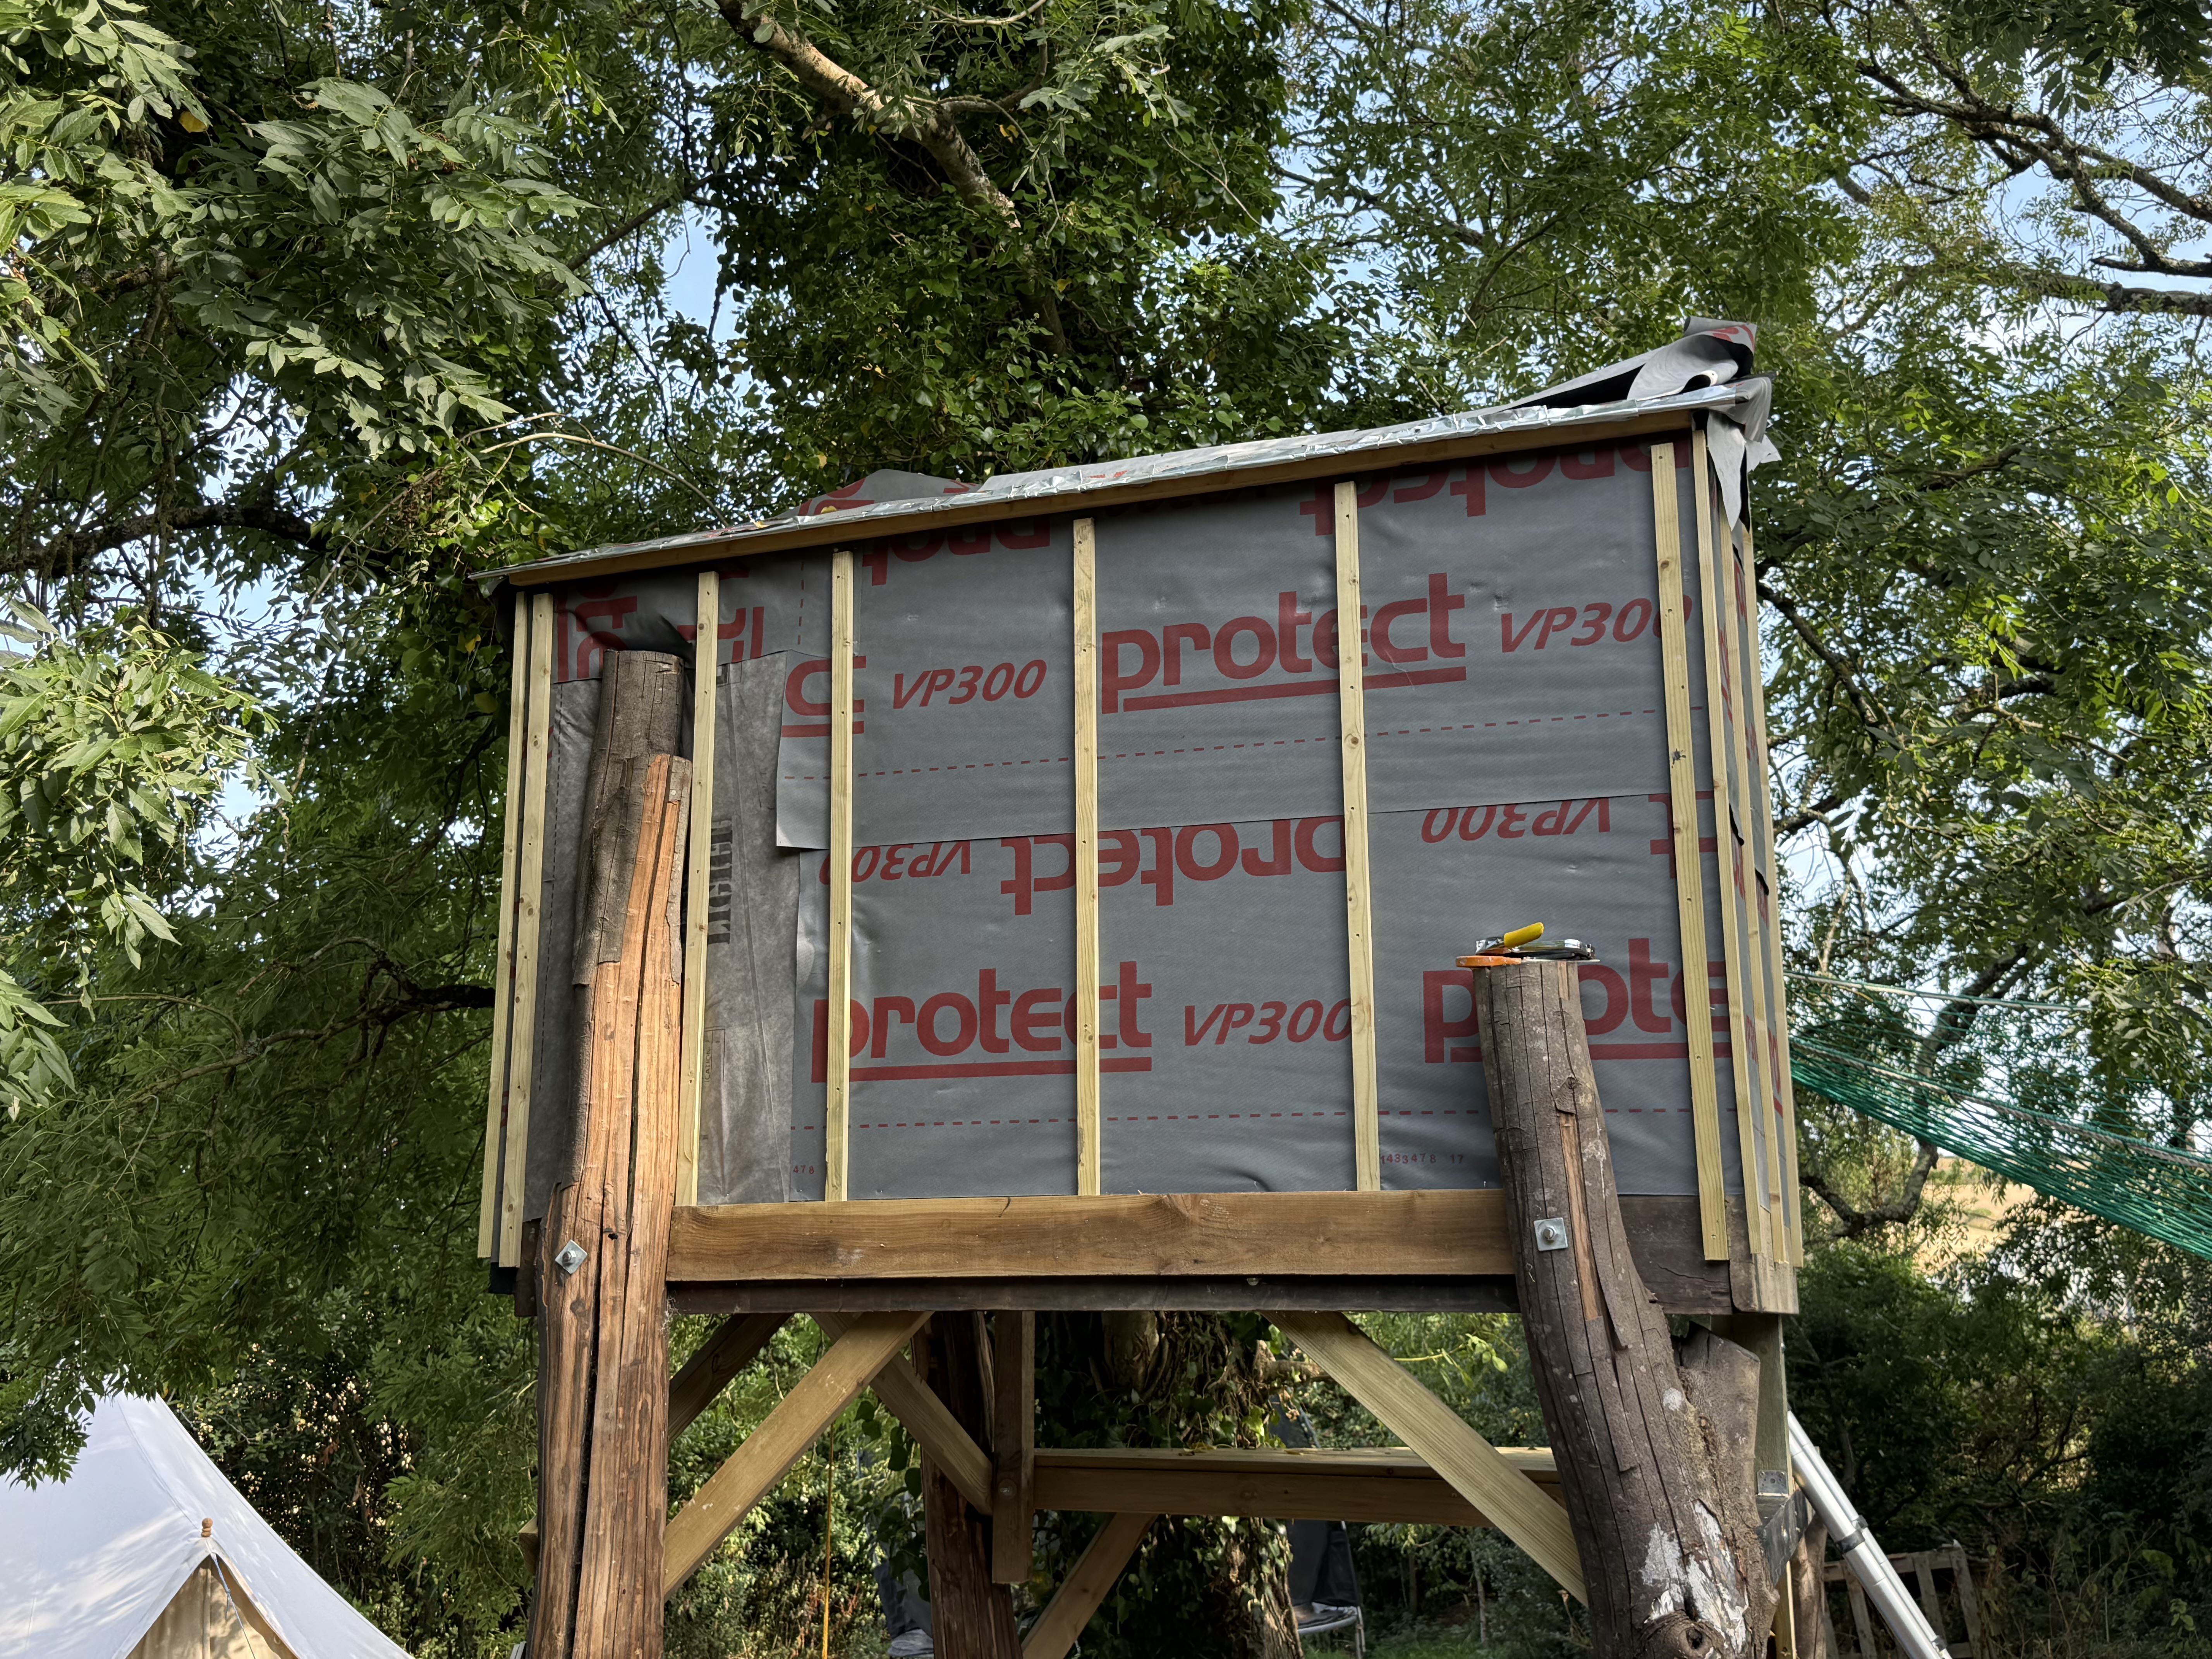
The frame was built first, then walls, lining and battening.
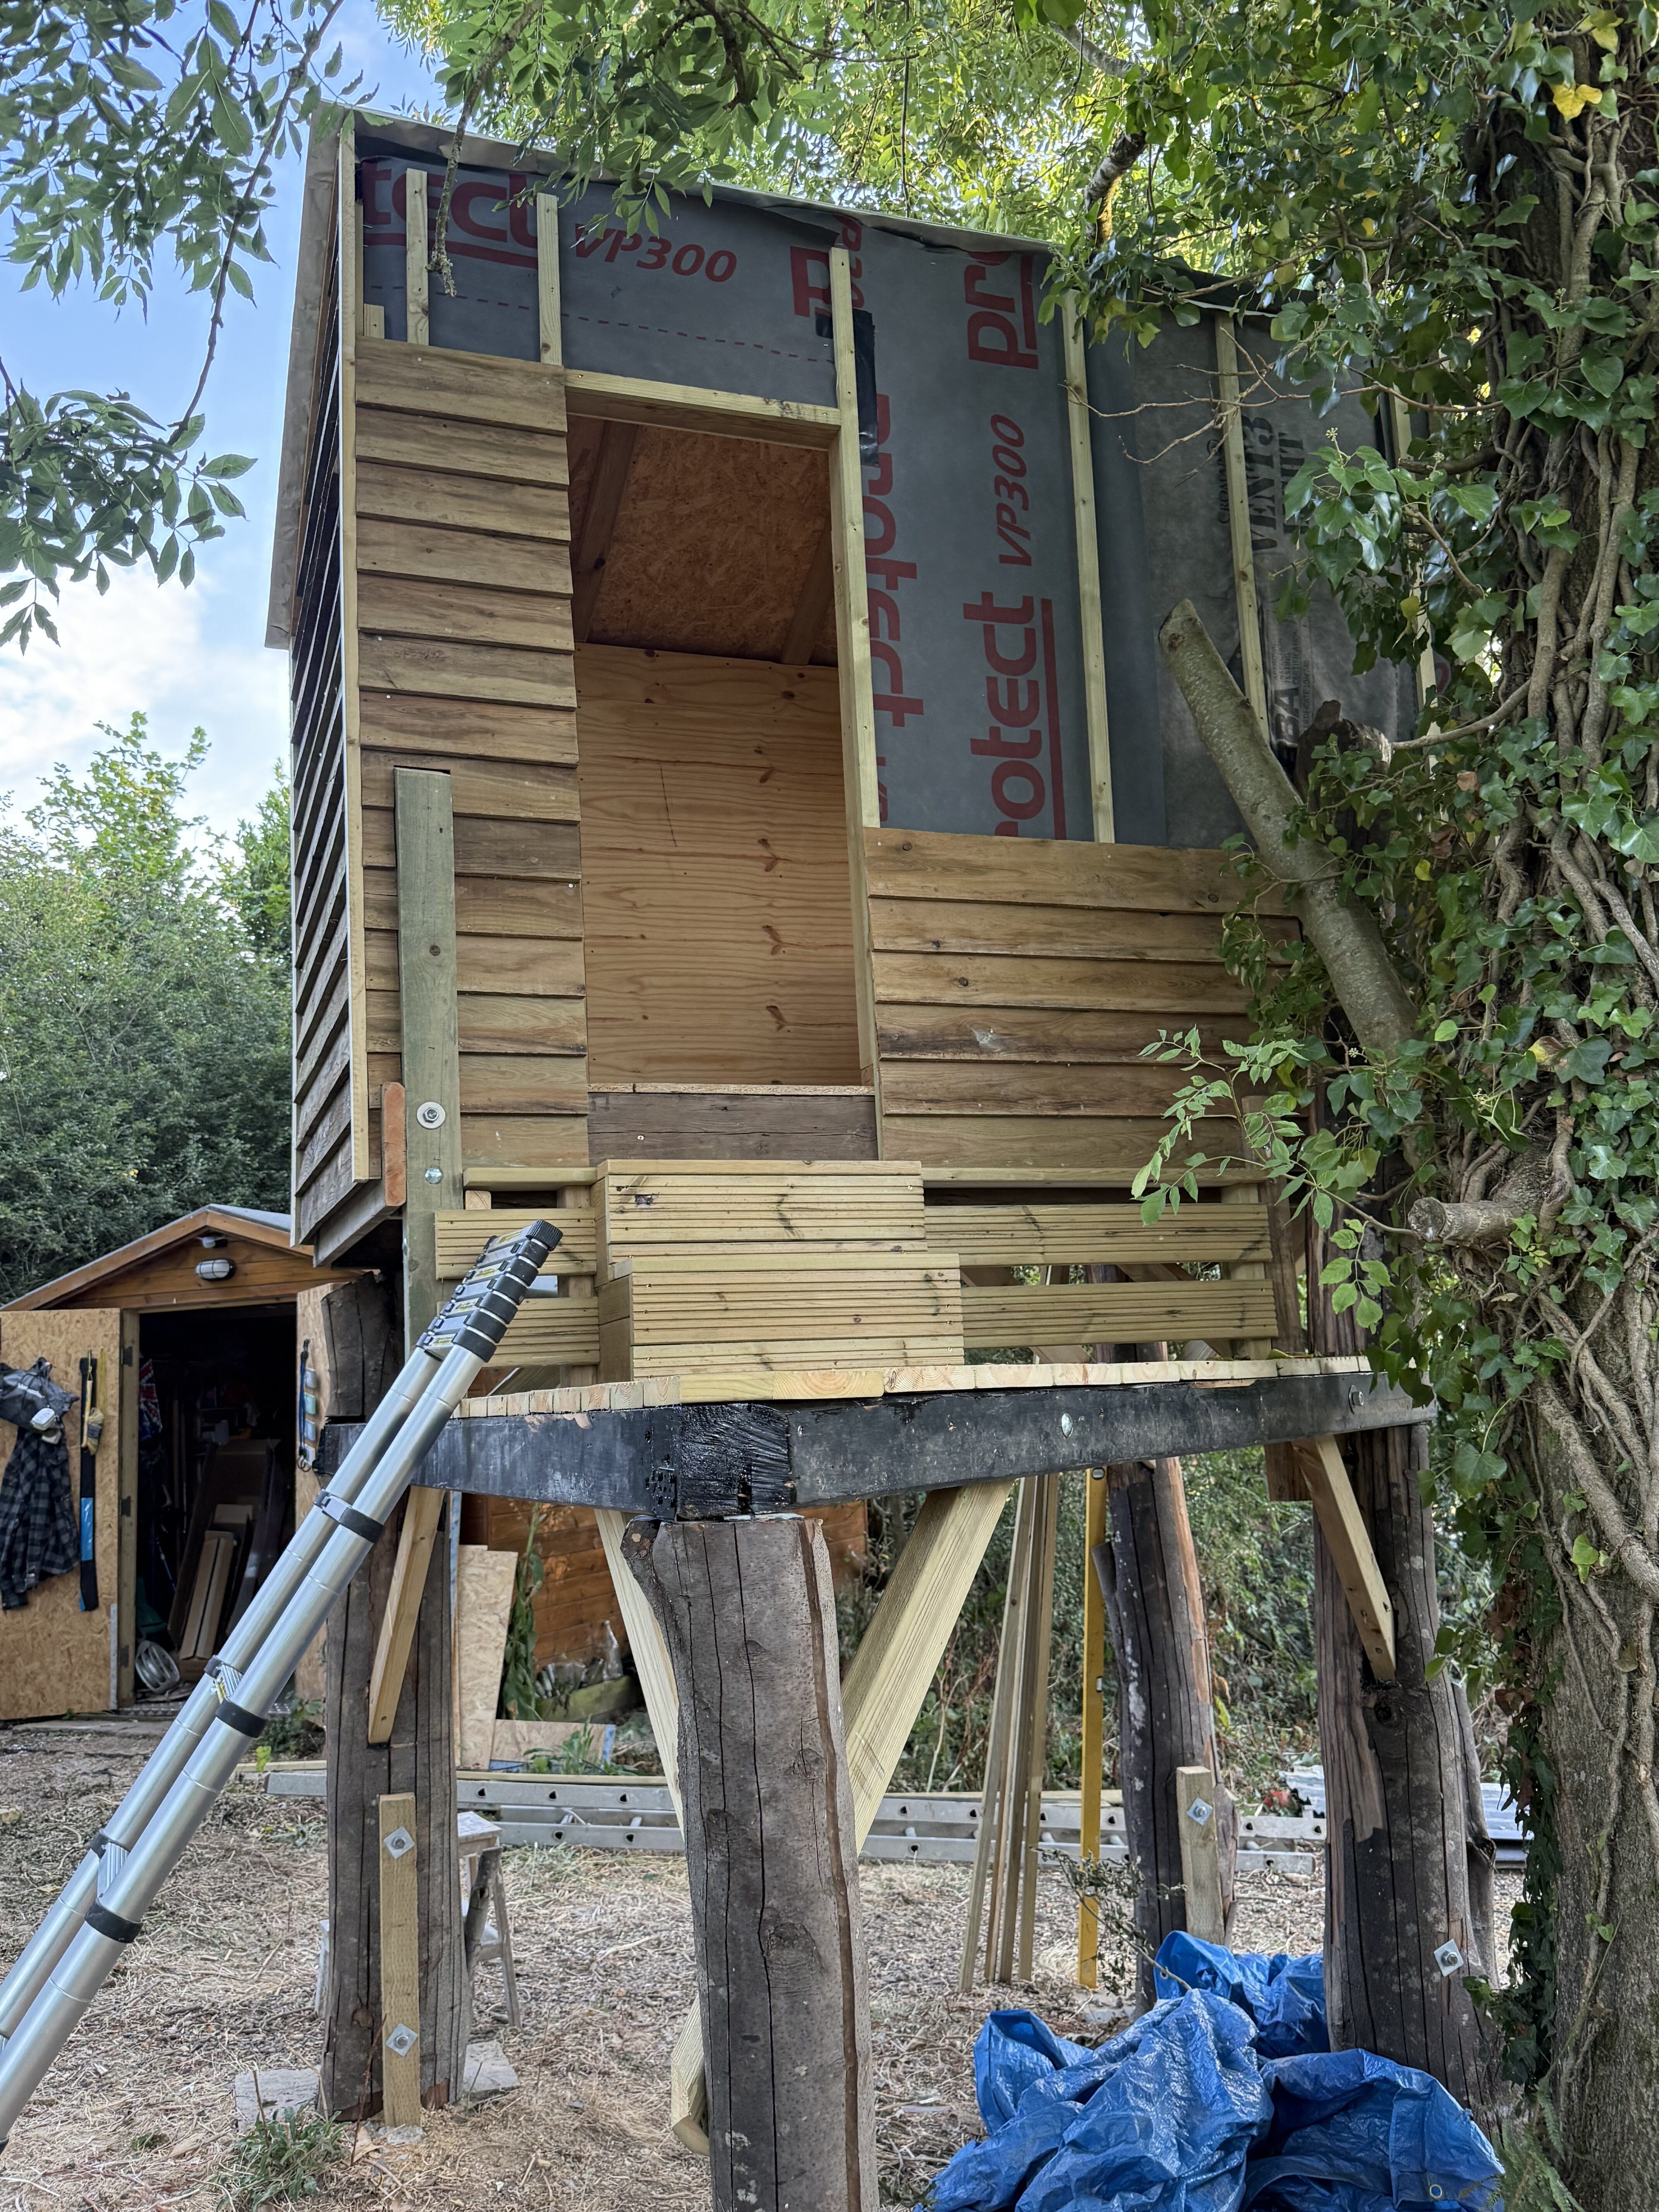
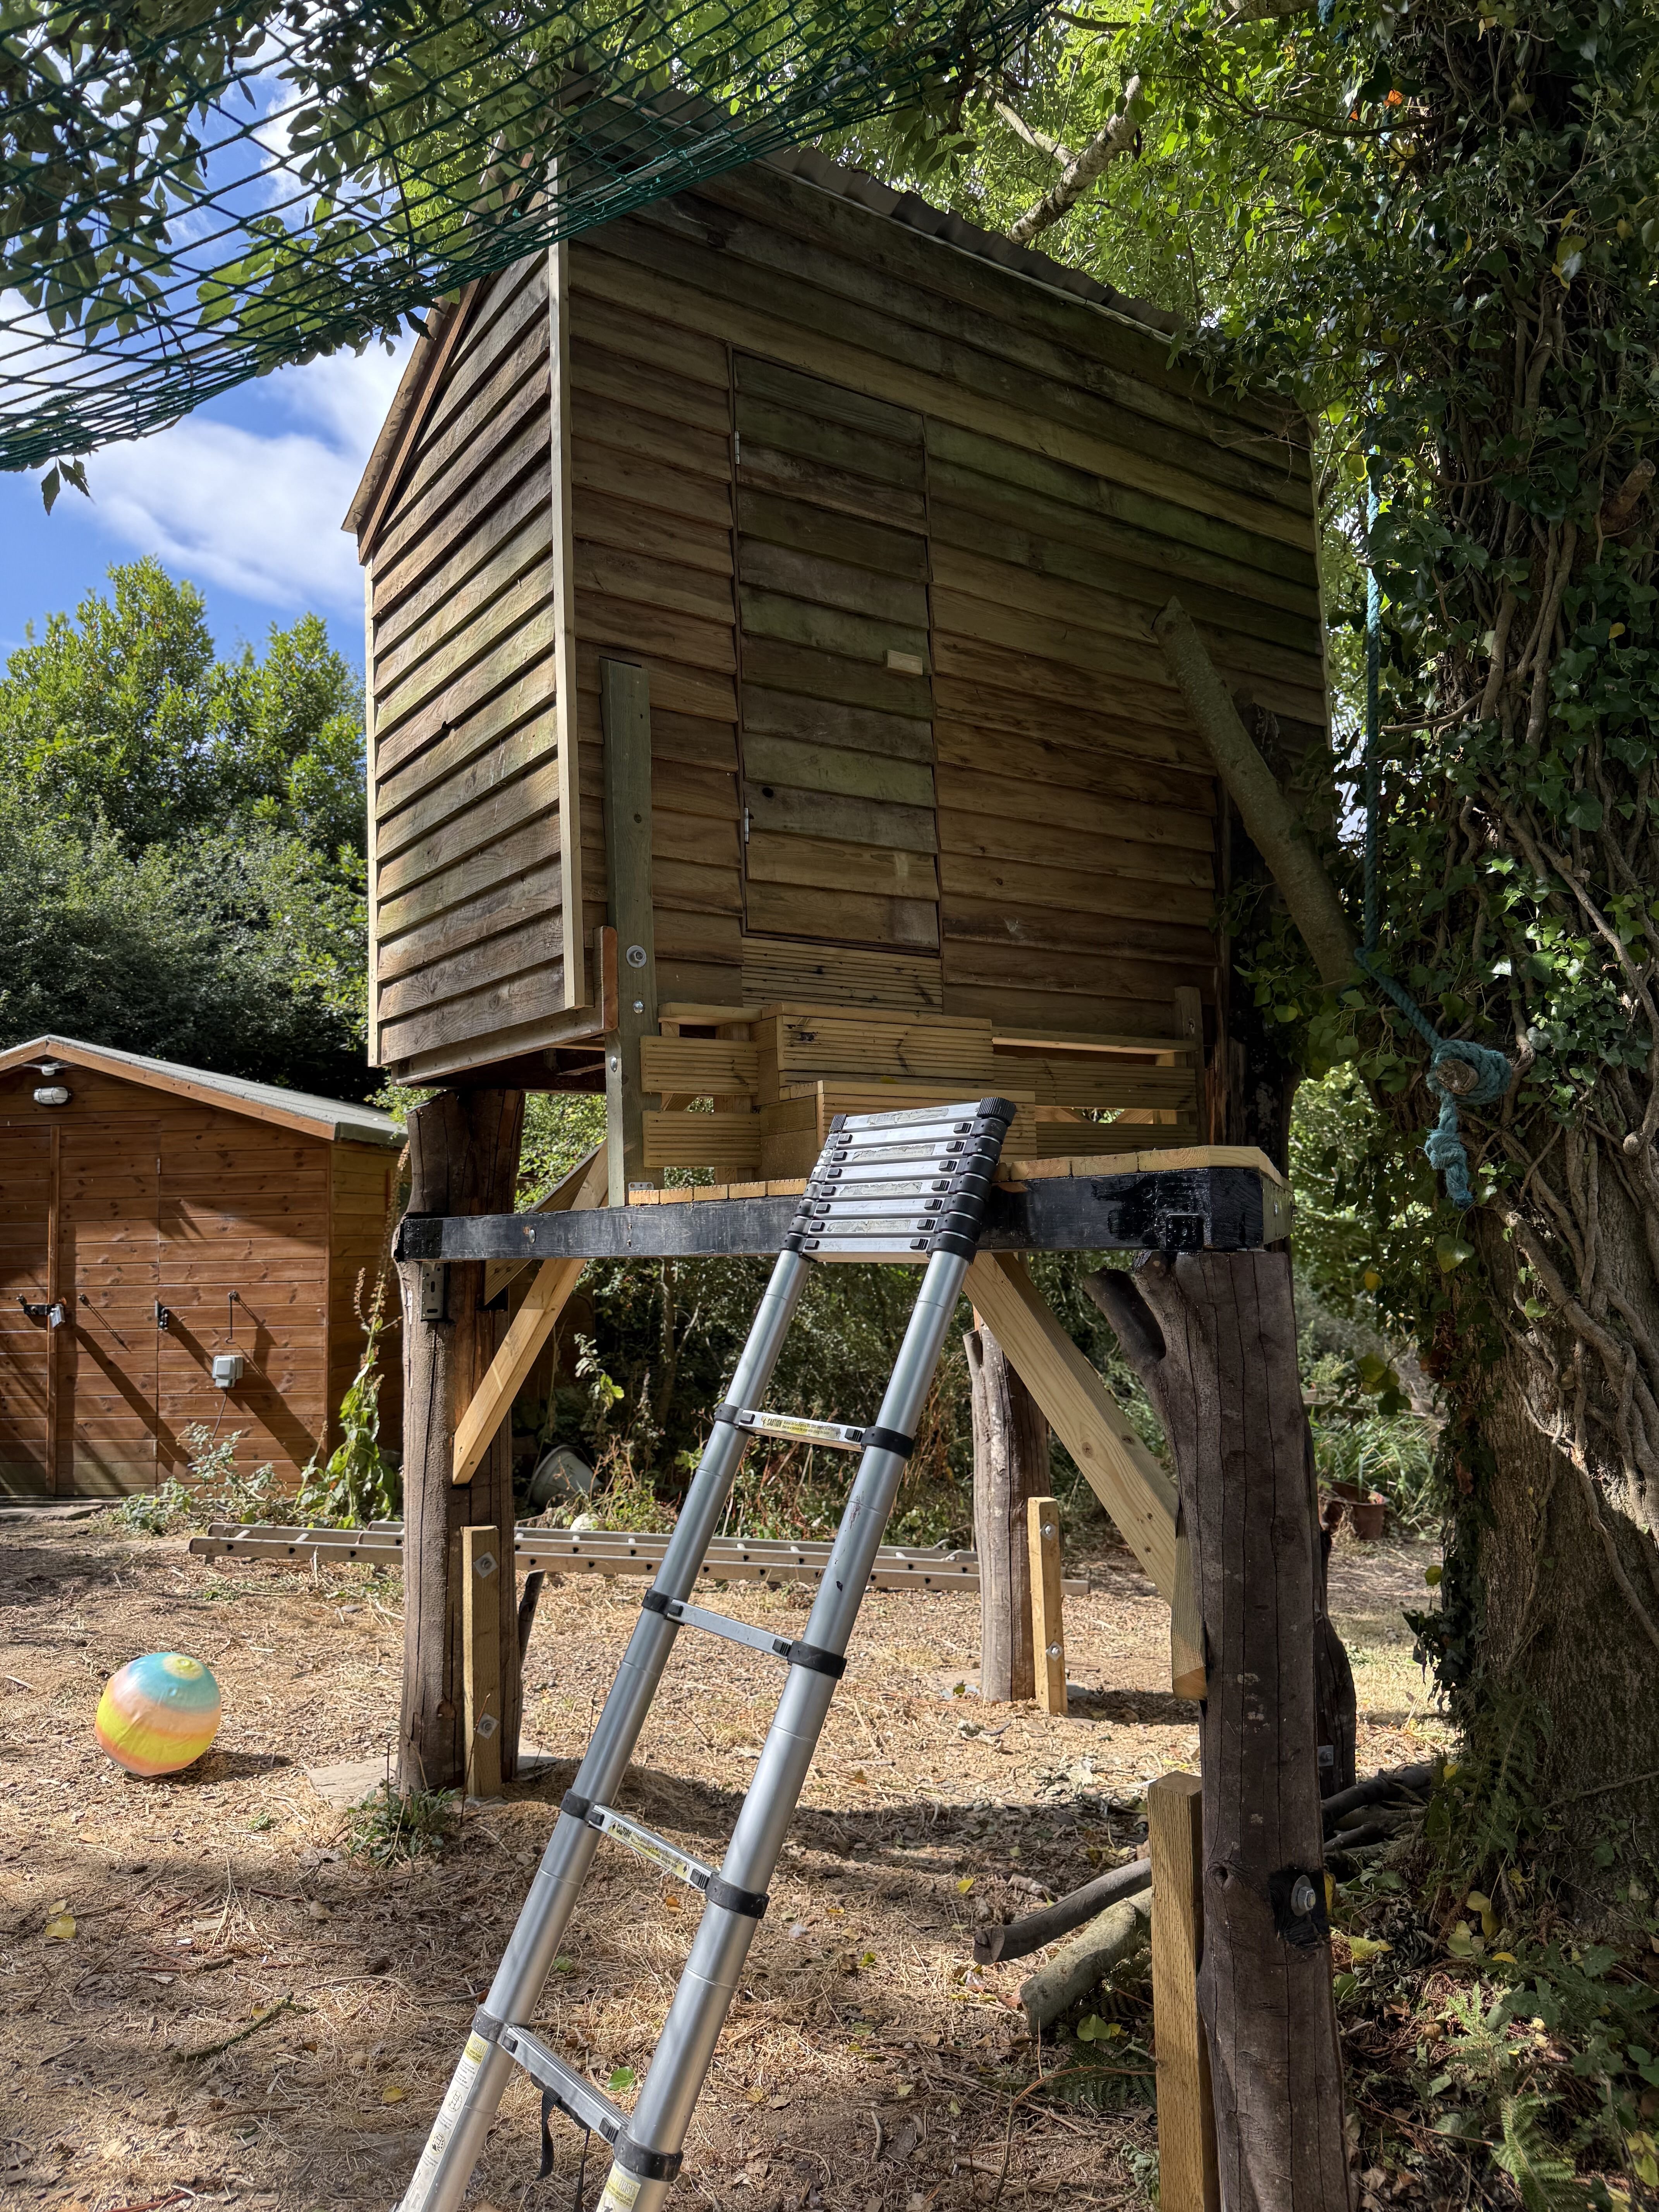
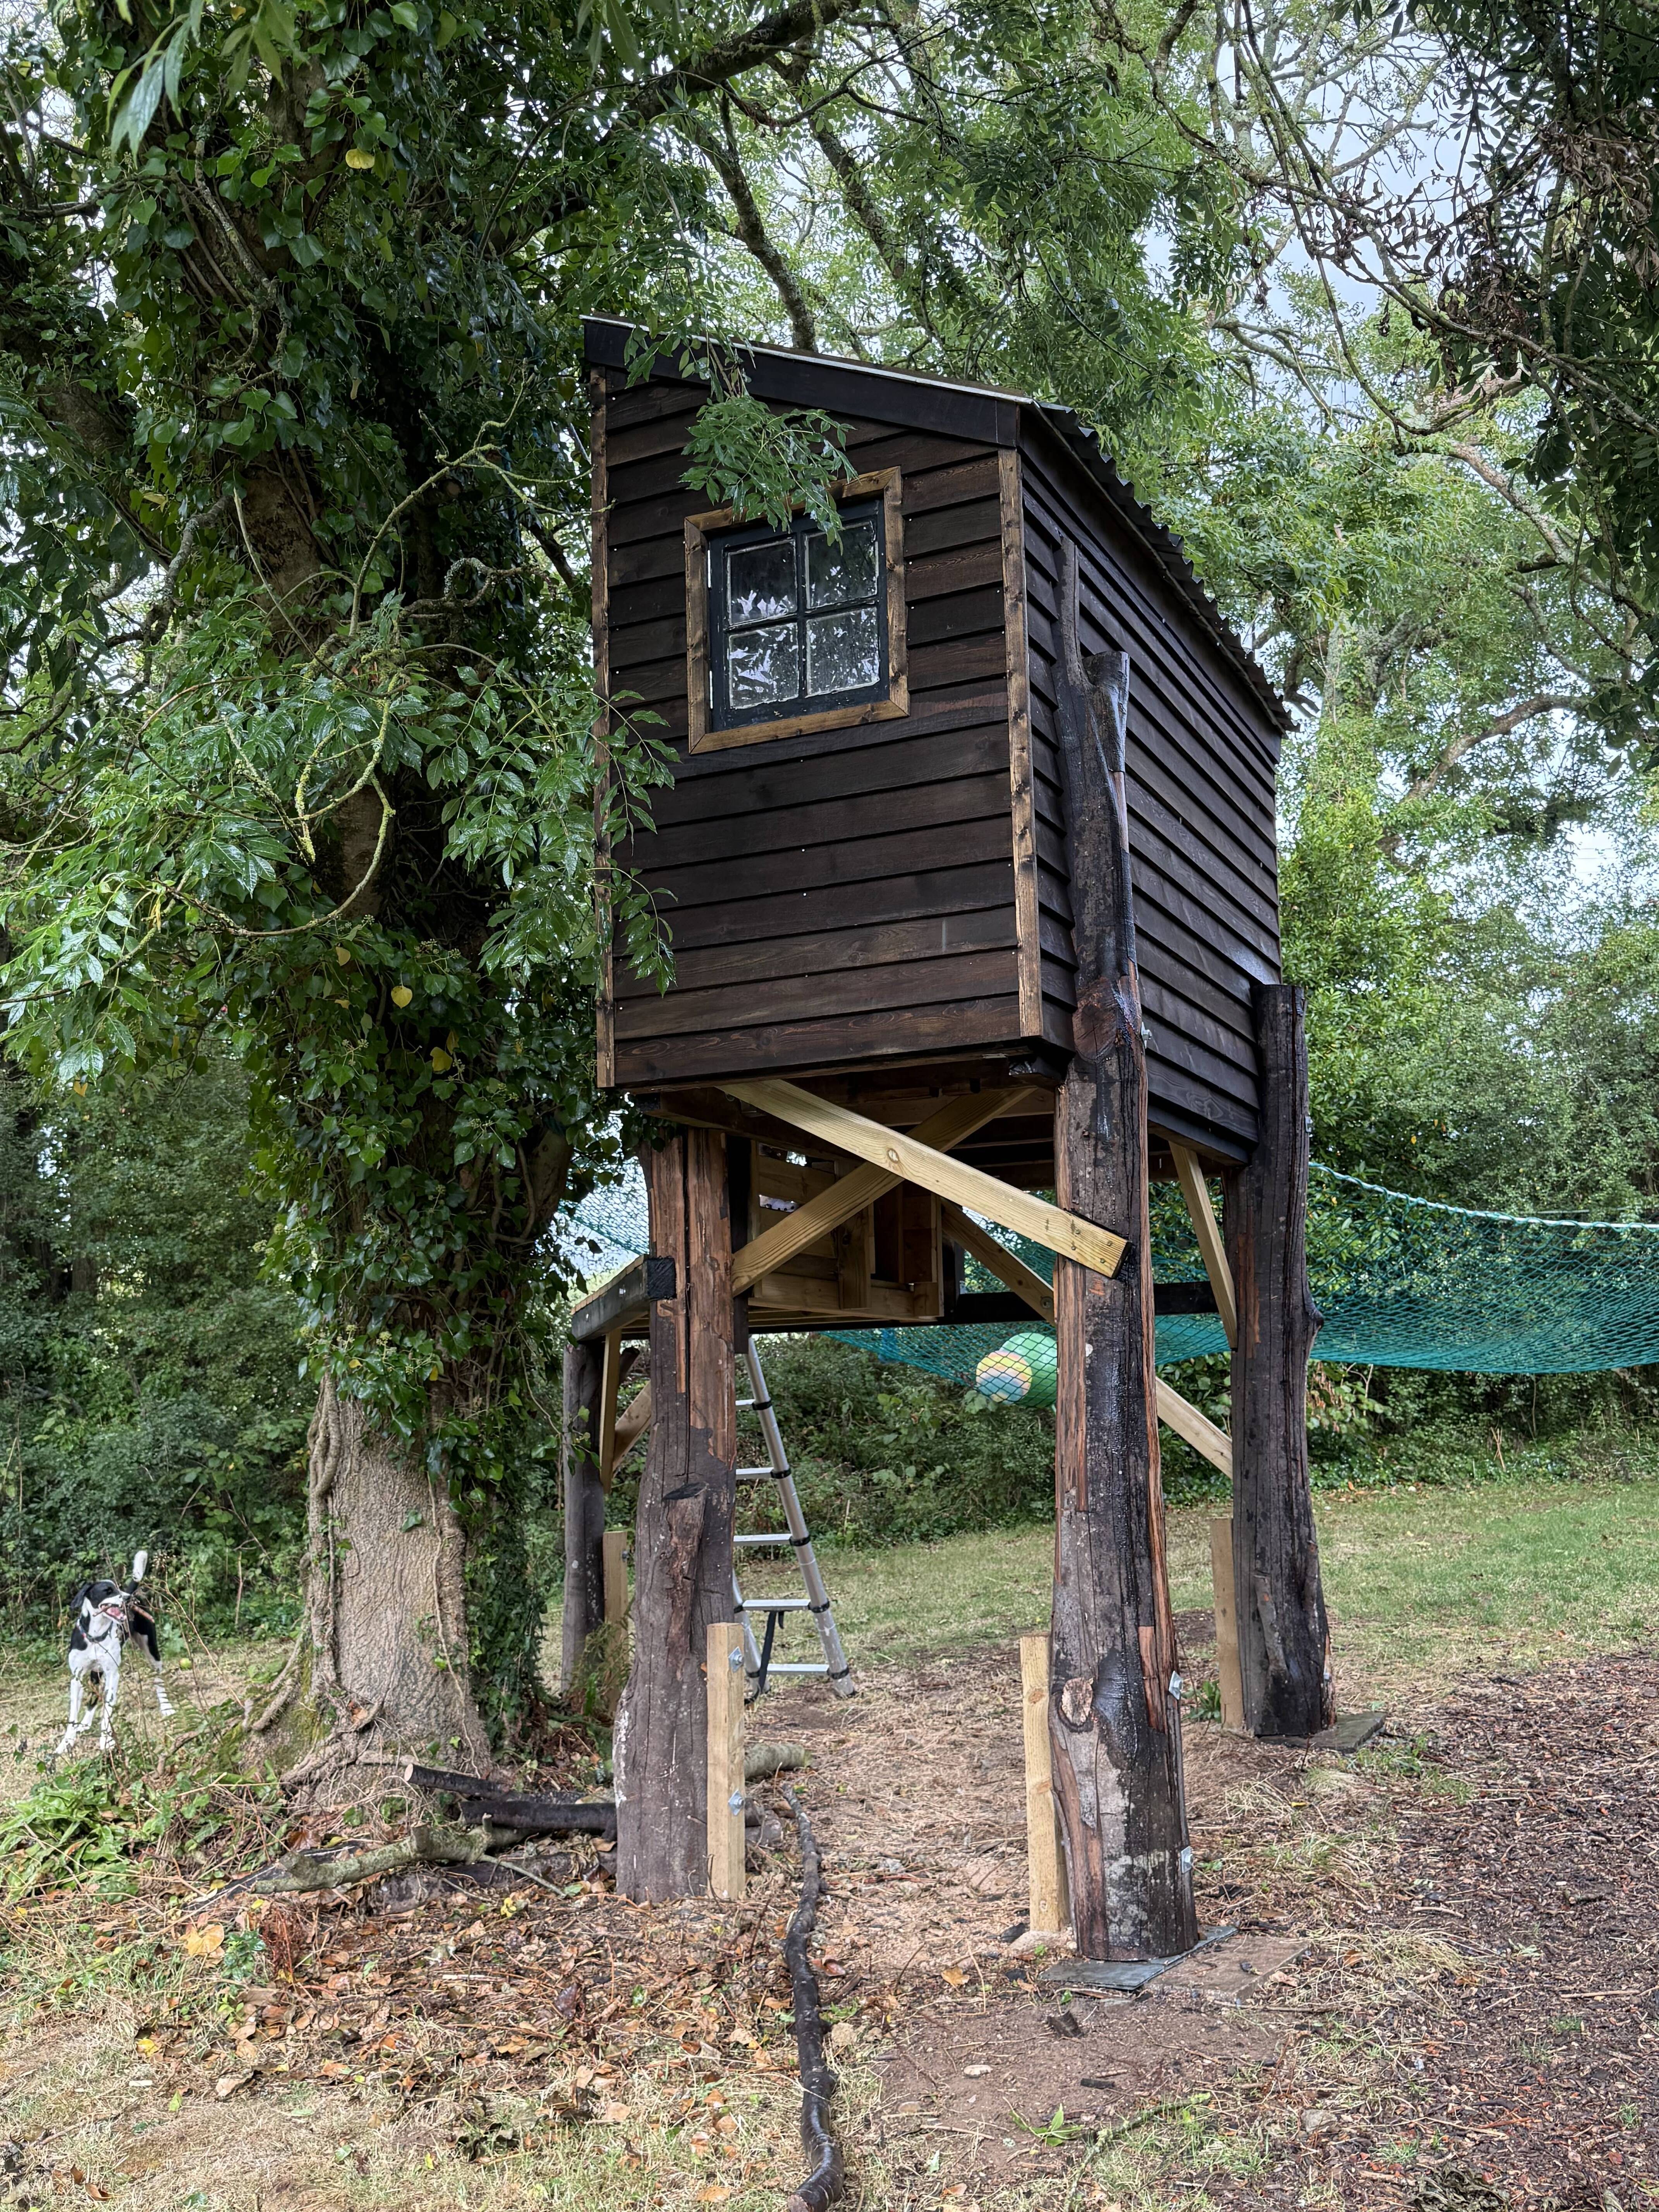
With the battens in place, I could add the feather edge cladding. Then it's just treatment, adding a door and making it nice inside!
With the insulation inside, it's actually quiet inside, making it a calm - and generally, a pleasant space to be in. Albeit quite small.
Next year, I plan to extend the balcony, and to add a rope-bridge to the other ash-tree. All in good time.
P.S This website's blog is woefully under appreciated by me and, I very much want to write more!